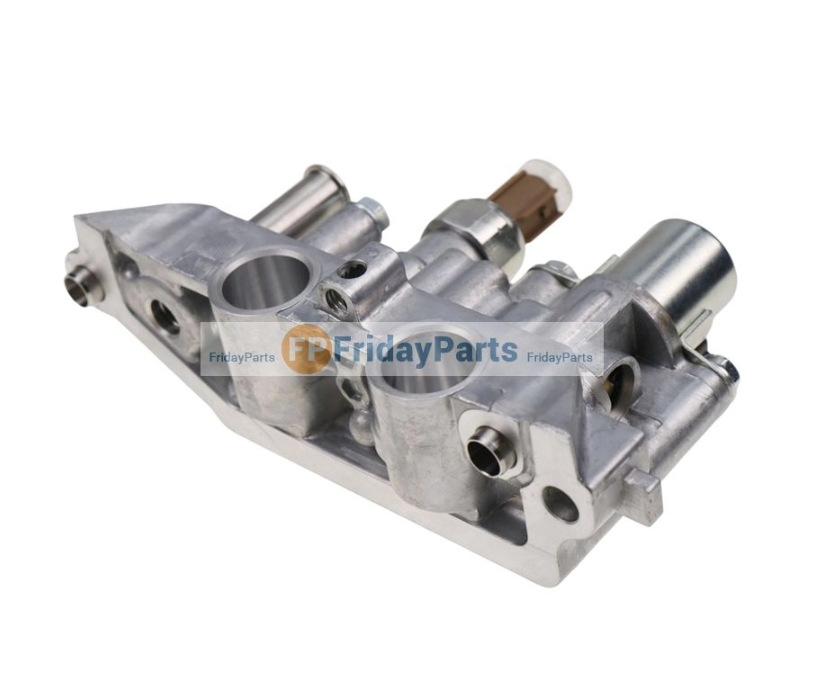
Solenoid valves are crucial components in off-road machinery, controlling and regulating hydraulic, pneumatic, and transmission systems to enable their functionality. Most off-road machinery works in a harsh environment, such as dust, vibrations, and high temperatures, so the solenoid valves are more likely to get stuck compared to other vehicles. This complete guide aims to help you fix a stuck solenoid valve more easily.
Step by step to fix a stuck solenoid valve
1. Check for electrical
Start by inspecting the solenoid valve’s power supply and electrical connections. Ensure that the power source is functioning properly, the electrical connections are secure, and the voltage and current are within specifications. If the electrical is open or short circuits, etc, you should repair or replace the affected components.
2. Disconnect power
Ensure that the solenoid valve has no electrical power supply.
3. Clear valve air pockets
Locate the flow control device near the valve, typically marked “FLOW” or “Flow Control.” Use a screwdriver to rotate the device clockwise until it stops. Then, rotate it counterclockwise four turns. This process helps clear any air pockets in the valve, eliminating gas blockages that may cause the valve to stick and ensuring sufficient water flow through the valve.
4. Inspecting the valve and solenoid
If you find the valve for any debris or sediment, disassemble the valve for cleaning or replacement of internal components. Pay attention to the assembly order of each component and the external wiring positions to ensure correct reassembly and wiring.
If the valve is ok, remove the cover from the valve and inspect the mechanical components of the solenoid, such as the valve core, sealing rings, and diaphragm, to ensure they are not damaged or worn. Remove the rubber diaphragm (without loosening the large spring on top) and check beneath it for any debris. Clear the debris if it exists.
If these components show signs of wear or cannot be effectively cleaned, they should be replaced promptly.
5. Check valve core
Check the solenoid valve core for any sticking or damage, as this is a common cause of malfunction. If the valve core is stuck, try gently rocking or rotating it to release the obstruction. If it is damaged or severely worn, it means you need to replace it.
6. Inspect solenoid valve coil
The solenoid coil is a crucial component for the proper operation of the solenoid valve. If damaged, the valve may not function correctly. If damaged, you should replace it with a new compatible solenoid coil.
7. Lubricate moving parts
After completing the above steps, apply the appropriate lubricant to the moving parts of the valve (such as the valve stem or plunger) to ensure smooth operation.
8. Reassemble
Reassemble the valve, ensuring all connections are tightened securely.
9. Test
Apply power and observe the solenoid valve response to test valve operation. Check for any leaks, abnormal noises, or persistent sticking issues. If the valve still fails to work, it is wise to do further troubleshooting or ask a professional for help.
Common reasons for a stuck solenoid valve
- Electrical malfunction
- Deposits, dirt, or other impurities inside the valve
- Aging of seals, such as O-rings and gaskets
- Wear of the valve core
- Insufficient lubrication
- Solenoid coil failure
- External environmental factors such as high temperature, humidity, corrosive substances, etc.
If you want them to operate smoothly and effectively, you need to regularly inspect the solenoid valve. If cleaning fails to restore normal operation, replacement of the solenoid valve is necessary.
View our online selection of solenoid valves
12V Fuel Shutoff Solenoid Valve 33072
Kubota Solenoid Valve 1J880-60013


Leave A Comment