No one wants to see accidents caused by issues with the lighting system. Therefore, when conducting routine checks on your John Deere 4055, it is crucial to prompt replacement of faulty lights. Acquiring the skill of light replacement has become a necessity for many vehicle owners, and this article can serve as your go-to guide.
This guide specifically covers the replacement of lights on the John Deere 4055 and 4250, utilizing LED lights for the upgrade. LED lights offer a more reliable and durable solution compared to traditional flashlights in this regard.
Lamp replacement guide on John Deere 4055 and 4250
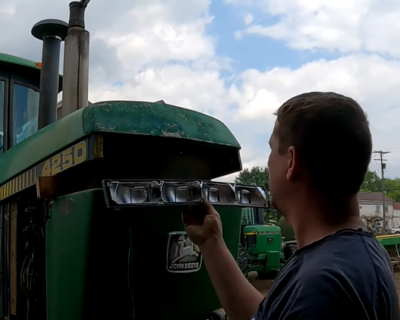
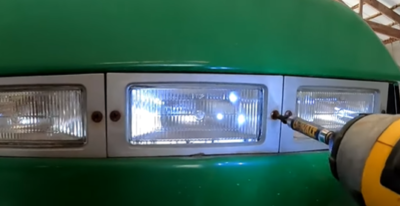
Let’s start with the replacement of the lights on the 4250. Regarding these fixtures, the black part surrounding the lights is the fixture’s mounting bracket. Lights on the snout, front hood, or wherever they were installed individually, this is a solid piece. You’ve got four lamps here, and these lights can be replaced altogether or individually.
Steps of 4250 replacement
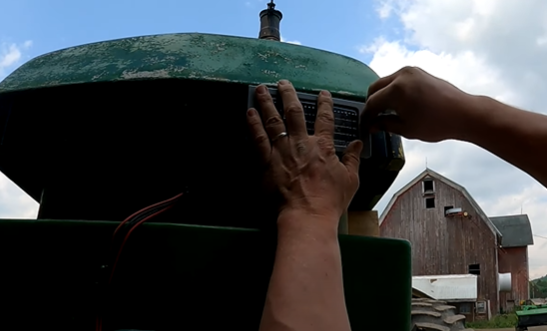
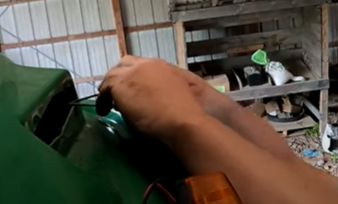
- In just one second, we remove the cover, actually, it is a complete component. And, plug the lights from right here and take the screens off which is good.

- Get into the right there and get this whole fixture taken out.
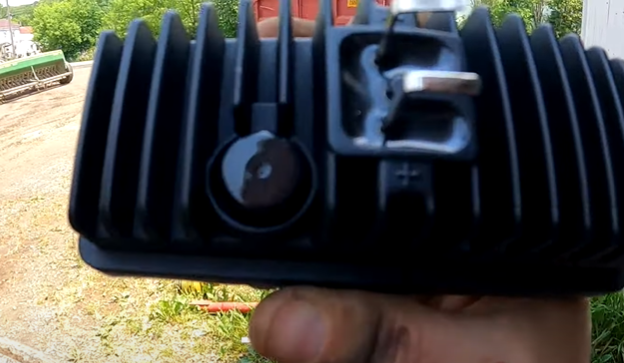
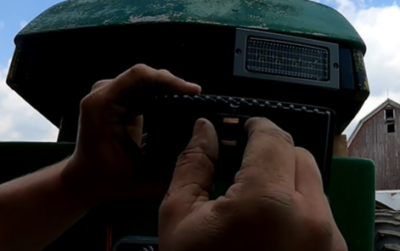
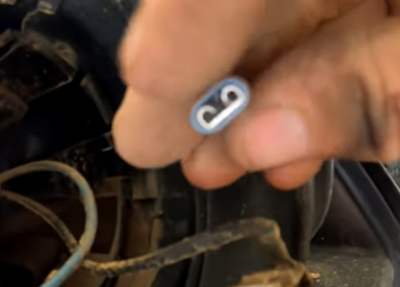
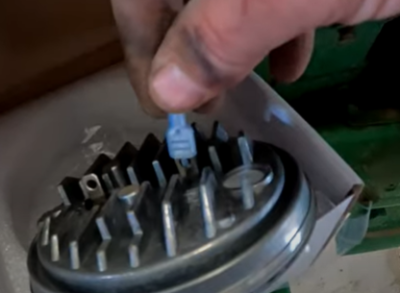
- Take out the light fixture, here is a kit with three lights. Look at these lights (inside you can see there is a tap positive negative and this does say top so you want to put them in the right way.)
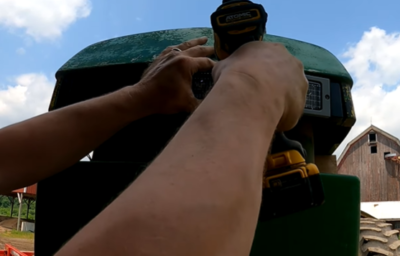
- Install the new bracket, ensuring it fits snugly with the fixture.
- Cover the fixture and screw it in place. Be careful with these labels because they can be a little flimsy.
- Ensure the red positive connection is at the bottom and the black negative connection is at the top. Once properly set, cover the fixture and tighten the screws. Use a tool to secure them. Repeat this process for the remaining light.
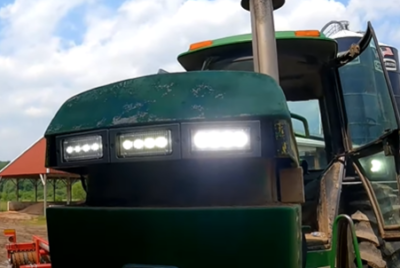
- After installation, plug it in (into our LED light), and check if it lights up; if it does, then it’s successful.
The good news: If one of the lights goes out, you don’t have to replace the entire set, just unplug the faulty one and replace it. The same goes for any of the other two lights; you can replace them individually instead of the whole cone.
Replacement steps of John Deere 4055
Steps of John Deere 4055 front snout
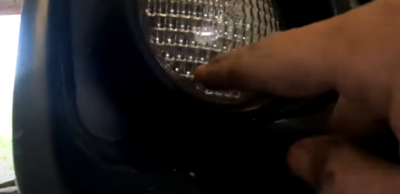
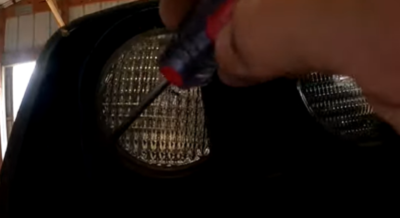
Step 1: Use a tool to remove the faulty light. On the front hood of the 4055, there are two ways to do this: the conversion kit comes with a whole piece, (the advantage of the 55 series is that you can remove them individually) you can remove them all and replace them individually.
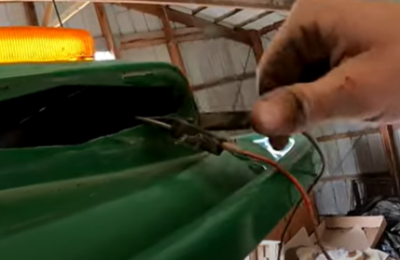
Step 2: Take out the broken light and disconnect the corresponding wires. And you can replace each light individually, you don’t have to go with the whole bracket and the whole wiring harness if you don’t for the 50 Series you do.

Step 3: Install the new light. On the back of the light, you can see what you just inserted. The plug has two prongs, just insert the prongs on the back of your light into this.
Step 4: Check if the light can turn on.
Reinstallation may take about 5 minutes.
Replacement steps of John Deere 4055 mudguard light
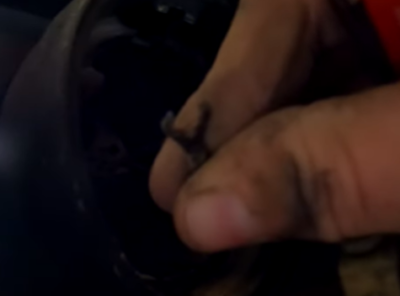
These lights easily pop out, with a clip.
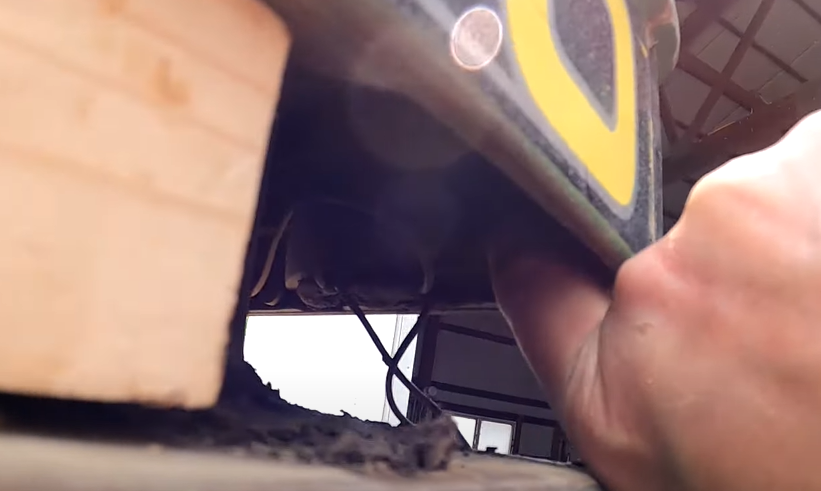
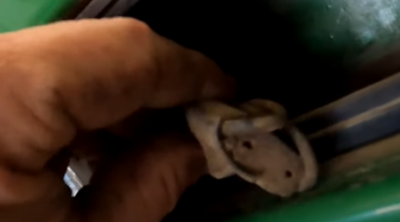
1st step. Use a little flathead screwdriver (if you’ve done two, you should be able to pull it out from the third one). A screw and a flathead screw can do the trick.
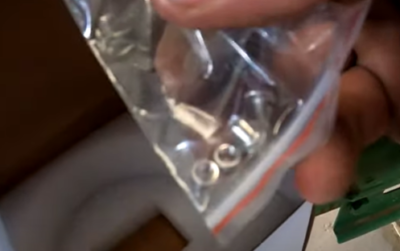
2nd step. You have this clip attached to the back of the light, you can see it has hardware. Place it there, thread those small bolts through, and then tighten.

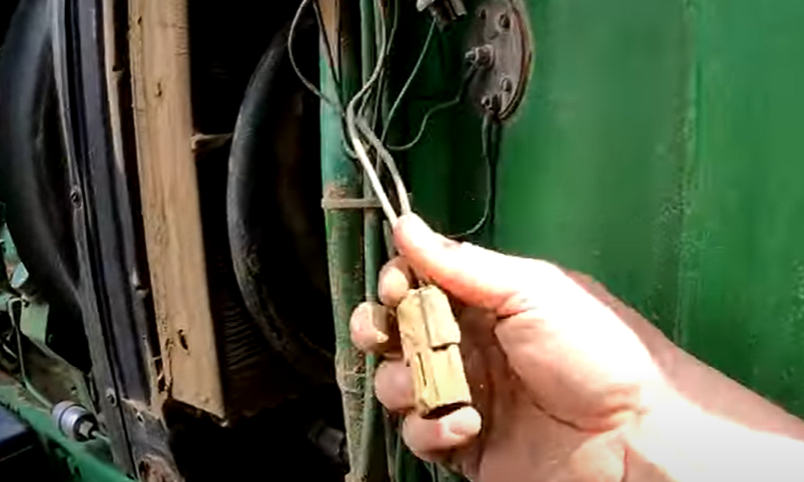
3rd step. Cut this wire.
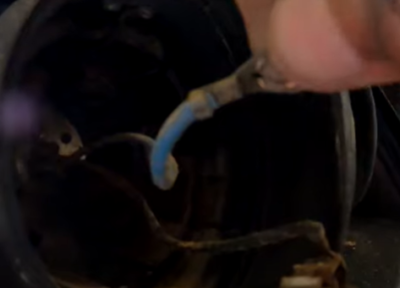
4th step. Crimp this female connector, and insert your light.
5th step. Reinstall the front hood light and the rear light.
Flashlight replacement steps
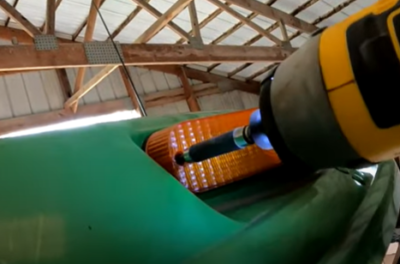
Tools: Screwdriver, Impact Gun, AR60250
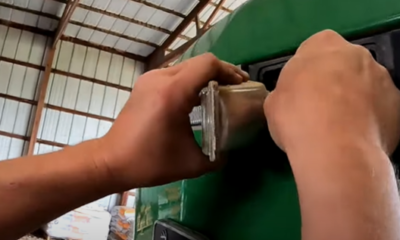
1. Use an impact gun to remove this, and take out the entire fixture.
2. You’ll see two hardware plugs, remove them.
3. Reinstall the new fixture following the removal steps.

If you need lamps for your equipment, check out the heavy equipment lamp catalog. With a wide range of part types, you can pick directly and ensure compatibility with your equipment. And also you can feel free to contact us if any interests.
Source: Mikep7810 (https://www.youtube.com/watch?v=rAyjy8oc7to&t=989s)


Leave A Comment