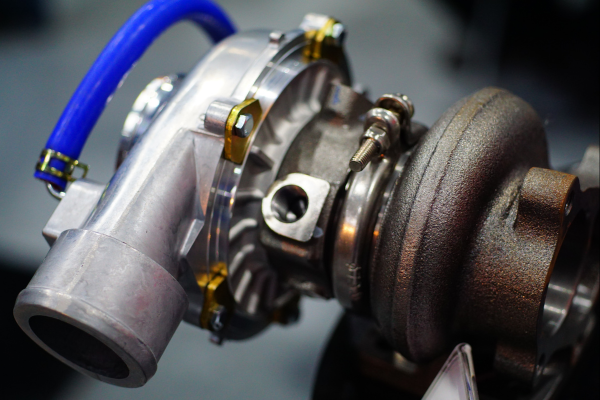
A turbocharger is a crucial component in modern engines that boosts performance by compressing the incoming air to create more power. However, turbochargers can wear out over time and may need to be replaced. If you’re experiencing reduced power or unusual noises coming from your engine, it may be time to change your turbo. Here’s a step-by-step guide on how to change a turbo:
- Prepare your workspace: Before you start changing the turbo, make sure that you have a clean and organized workspace with all the necessary tools. You’ll need a socket set, a torque wrench, a set of pliers, a degreaser, and a soft-bristle brush.
- Remove the old turbo: To access the turbocharger, you may need to remove other components such as the exhaust manifold, the intake manifold, and the heat shield. Use your socket set to remove the bolts and brackets that are holding the turbocharger in place. Be sure to disconnect the oil and coolant lines before removing the turbocharger from the engine.
- Inspect the old turbo: Once you have removed the old turbocharger, inspect it for any signs of damage or wear. Look for cracks or other signs of physical damage, and check the compressor and turbine wheels for any signs of rubbing or excessive wear. This information can help you determine the cause of the turbo failure and prevent similar problems from occurring in the future.
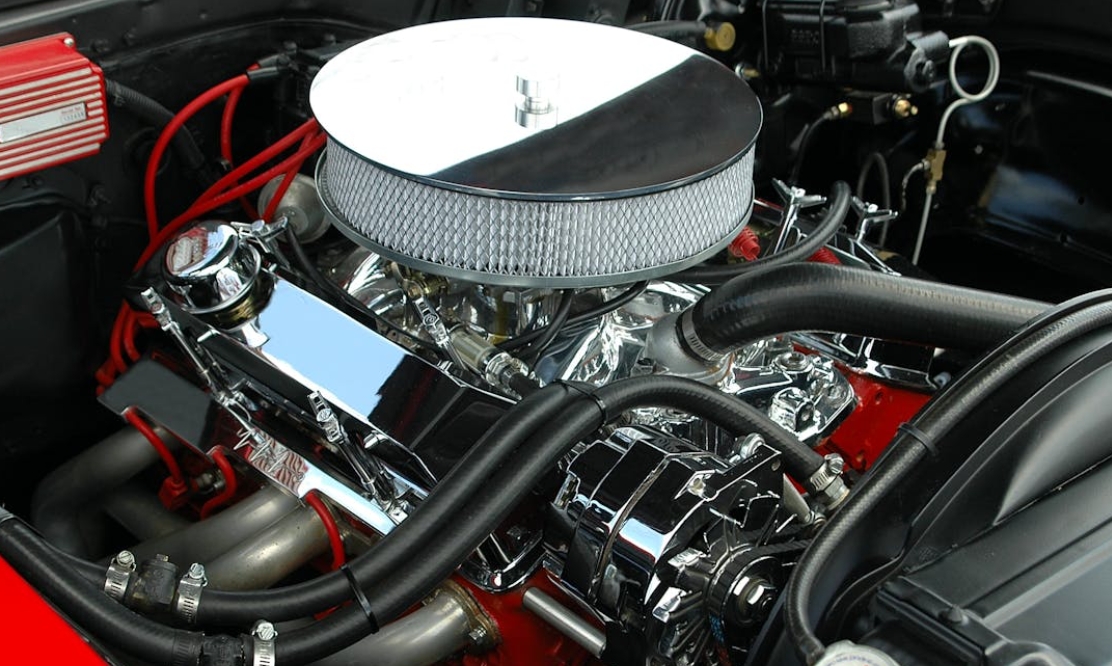
- Clean the engine and exhaust components: Use a degreaser and a soft-bristle brush to clean the engine and exhaust components that were removed earlier. Make sure to remove any built-up dirt, grime, or oil to prevent any debris from entering the new turbocharger.
- Install the new turbo: Carefully install the new turbocharger in the same location as the old one. Make sure to reconnect the oil and coolant lines, and tighten all bolts and brackets to the manufacturer’s recommended torque specifications. Be careful not to over-tighten any bolts or brackets, as this can cause damage to the turbocharger or the engine.
- Reinstall any surrounding components: Once the new turbocharger is installed, you can reinstall any surrounding components that were removed earlier. This may include the exhaust manifold, the intake manifold, and the heat shield. Make sure to reconnect any electrical connections and vacuum lines as well.
- Test the new turbocharger: After reinsta lling all components, start the engine and let it idle for a few minutes. Check for any leaks or unusual noises, and monitor the oil pressure and temperature gauges. Take the car for a test drive to ensure that the new turbocharger is functioning properly.
- Perform maintenance: To prevent premature turbocharger failure, it’s important to perform regular maintenance such as oil changes and air filter replacements. Consult your owner’s manual for recommended maintenance intervals and procedures.
In summary, changing a turbocharger can be a complex process, and it’s important to follow the manufacturer’s recommend+ed procedures to ensure a proper installation. If you’re not comfortable working on your own car, it’s best to seek the help of a qualified mechanic. With some basic tools, a little patience, and attention to detail, you can replace your turbocharger and get your engine running smoothly again.


Leave A Comment